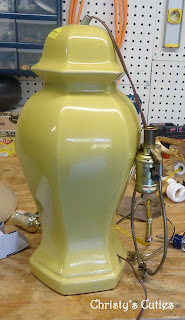
Yea, the hubby was supposed to put it into storage, and he acctually THREW it into storage. Men! But I couldn't bear to get rid of it because it was a gift from my MIL, and I knew I would be able to do something with the pieces at some point. Well, that point was now.
First, cut the wired of the broken lamp above. We will use all of it's pieces to fix the new/broken lamp. That just doesn't sound right, does it. HA!
Now you can cut the new/broken lamps cord and take it all apart. {Remember how it all screws back together, because it will be much easier to put back together once your done.)
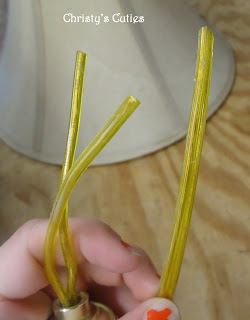
Slide the new cord through all of the holes on the new lamp, and take off some of the plastic so that the wires are showing.
This is what they cord shoud look like now. You will want to twist the ends together on each cord, so that they will "splice" together.
Once you splice the cords together, add caps to keep them together, and make sure you don't blow your house up. That's never good!
Add all of the parts back on, and tighten everything up and your done! Here is the working lamp! Now, I just have to figure out a shade for it. ;)
I like to party over here!
Have a fabulous day!!


Nice job! I love a good upcycle!
ReplyDelete