


My hubby was able to score me a few pallets from work a few weeks ago. Remember me talking about pallets MONTHS ago?? Yea, I'm a bit of a procrastinator I suppose. Sorry. But, it was worth the wait for what I was able to make. Keep reading so I can show it off! Please?? ;)
Begin by taking apart the pallet. We left the outside board for the beginning of the table. We also kept it the same length. This makes it much easier.

Continue taking the boards off, and moving them closer together. We too the second board off, then moved to the last board. By doing this, we only had to remove two boards, instead of three.

This is what it will look like once the boards are together.

Now, you need to cut the excess wood off.

And when the electric saw doesn't cut it, move to the cheap-o way! lol


We used a board from a second pallet for the sides....you will just have to cut it down to size.

This is what the back/bottom will look like.

Since I hate to waste things, we used the part of the "middle" of the leftover pallet to make the legs. You will need to use one of the "middle" pieces from the second pallet for one of the legs, too. Then we screwed them in using L brackets. We put the larger side on the top, with the smaller part on the bottom. I think it makes it look like "feet" when done. :)

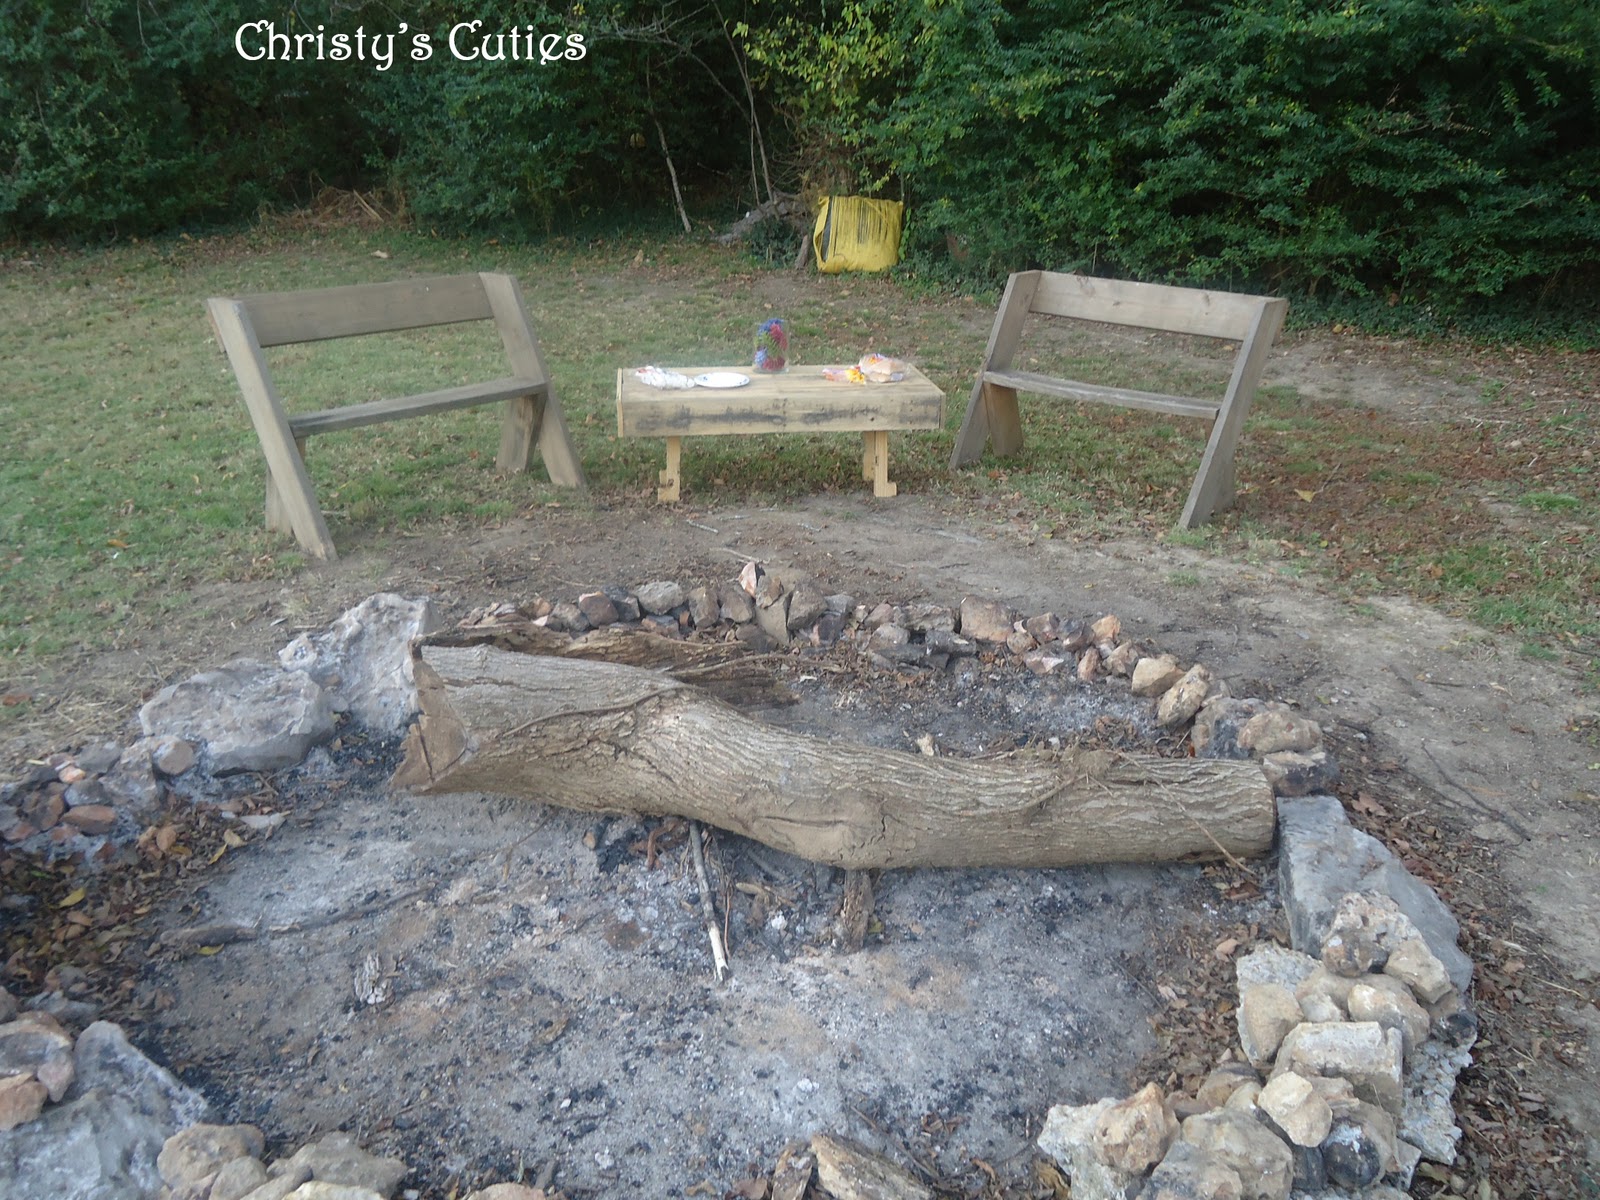
Here is the finished product! We decided to use it for a table by our bonfire. We love bonfires during fall. Perfect timing!

And its perfect for the food, and big enough to set the kids down and eat....instead of making a mess by dropping plates and loosing food.

It's really makes our bonfire area complete. We love it!
The best part about this table, is that it only cost us $4 for the L brackets! Score!! I really hope you enjoyed all of the pictures....and that I was able to keep your attention even though there were tons!
I like to party over here!
Have a fabulous day!


This is great Christy! I saw it on the guest post and loved it. It's perfect for that spot... cute, rustic and maintenance free!
ReplyDeletethis is wonderful! what a great way to upcycle!! i really hope you're planning on linking this up tomorrow ((hint hint))
ReplyDeleteThis is such a great idea! So cute looking too with its little legs!
ReplyDeletewhat a great idea, pallets are easy to come by and it makes for a great outdoor table! Thanks so much for sharing this!
ReplyDelete-peggy
That's perfect for a bonfire side table!! I love that you put sides on it - it really gives it a more finished look! Awesome job!
ReplyDeletePerfect outdoor table! It came out so great. Would love it if you would stop by and share this at my linky party :) http://everything-underthemoon.blogspot.com/2011/11/bedazzle-me-monday-7_6572.html
ReplyDeleteAlso, PRETTY PLEASE stop by and check out Random Acts of Kindness Week going on all next week!! I would love it if you could participate!! More info here:
http://everything-underthemoon.blogspot.com/2011/11/kindness-and-thanksgiving.html
this was one of the most clicked links at my tip-toe thru tuesday party last week! you'll be featured tomorrow!
ReplyDeleteI love this. Thank you for stopping by DIY Home Sweet Home and sharing your link.
ReplyDelete